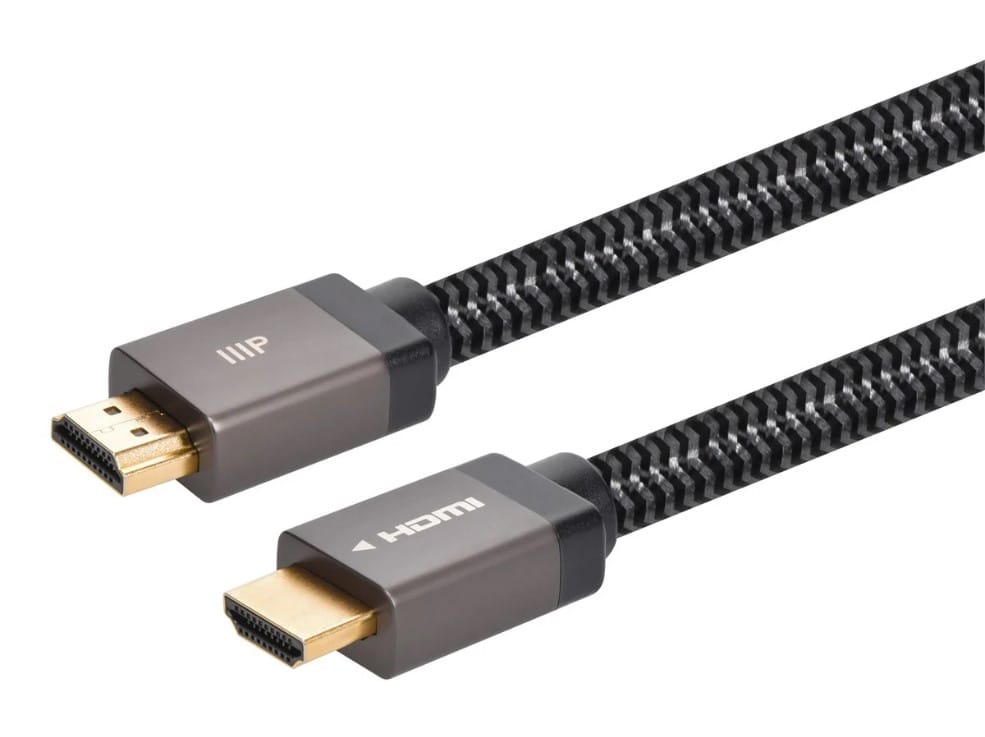
Proper installation of an HDMI 2.1 cable is crucial for getting the best performance from your devices. Whether you’re setting up a 4K TV, gaming console, or home theater system, this guide will walk you through the steps to ensure a seamless connection and optimal functionality.
Understanding HDMI 2.1 Basics
Before diving into the installation process, it’s essential to understand the capabilities of your HDMI 2.1 cable:
- Supports 4K at 120Hz and 8K at 60Hz resolutions.
- Bandwidth of up to 48Gbps for faster data transfer.
- Compatible with eARC, VRR, and ALLM for enhanced audio and gaming.
Step 1: Preparing for Installation
- Check Your Devices: Ensure both your source (e.g., gaming console, Blu-ray player) and display (e.g., TV, monitor) support HDMI 2.1 features.
- Inspect the Cable: Look for any physical damage or defects on your HDMI cable. Certified Ultra High-Speed HDMI cables will have the official certification logo.
- Choose the Right Port: Most modern TVs and receivers have multiple HDMI ports; select the one labeled HDMI 2.1 or eARC for maximum compatibility.
Step 2: Connecting Your HDMI 2.1 Cable
- Locate the Ports:
- Plug one end of the HDMI cable into the source device’s HDMI OUT port.
- Connect the other end to the TV or monitor’s HDMI IN port.
- Secure the Connection:
- Ensure the cable is inserted firmly into both ports.
- Avoid excessive force to prevent damage to the cable or ports.
- Position the Cable:
- Keep the cable clear of any potential interference, such as power cords or routers.
Step 3: Adjusting Device Settings

- Enable HDMI 2.1 Features:
- Access the settings menu on your display and source device to activate HDMI 2.1 features like eARC or ALLM.
- Adjust Resolution and Refresh Rate:
- Set the output resolution to 4K or 8K, and select the desired refresh rate (e.g., 120Hz) for optimal performance.
- Configure Audio Settings:
- If using eARC, ensure your audio system supports advanced formats like Dolby Atmos or DTS.
Step 4: Testing and Troubleshooting
- Verify the Signal:
- Check if the source device is recognized by your display.
- Look for confirmation in the settings menu or on-screen notifications.
- Fixing Common Issues:
- No signal: Reinsert the cable or try a different port.
- Poor video/audio quality: Ensure the cable is certified for HDMI 2.1 and supports the required bandwidth.
- Interference: Re-route the cable away from other electronic devices.
Step 5: Maintaining Your HDMI 2.1 Cable
- Avoid Bending:
- Keep the cable in a straight or gently curved position to prevent internal damage.
- Protect the Connectors:
- Use protective caps when storing or transporting your HDMI cable.
- Upgrade When Needed:
- If you experience frequent connection issues, consider replacing the cable with a certified Ultra High-Speed HDMI cable.
Conclusion
Installing an HDMI 2.1 cable is a straightforward process, but proper handling and configuration are essential for optimal performance. By following this guide, you can ensure a hassle-free setup and enjoy high-quality visuals and audio for years to come.
FAQs
Do I need an HDMI 2.1 cable for 4K content?
While HDMI 2.0 supports 4K, HDMI 2.1 unlocks higher refresh rates and additional features for a smoother experience.
Can I use HDMI 2.1 with older devices?
Yes, HDMI 2.1 is backward compatible with HDMI 2.0 and earlier standards.
What should I do if my HDMI 2.1 cable doesn’t work?
Check for physical damage, ensure your devices support HDMI 2.1, and try different ports.
What is eARC, and how do I enable it?
eARC (Enhanced Audio Return Channel) supports high-quality audio formats. Enable it in the audio settings of your TV and receiver.
Does cable length affect performance?
HDMI 2.1 cables work best under 10 feet. For longer distances, use active or fiber-optic cables.
Is there a specific way to route my HDMI cable?
Keep the cable away from power cords or devices that may cause interference. Secure it to prevent damage.


