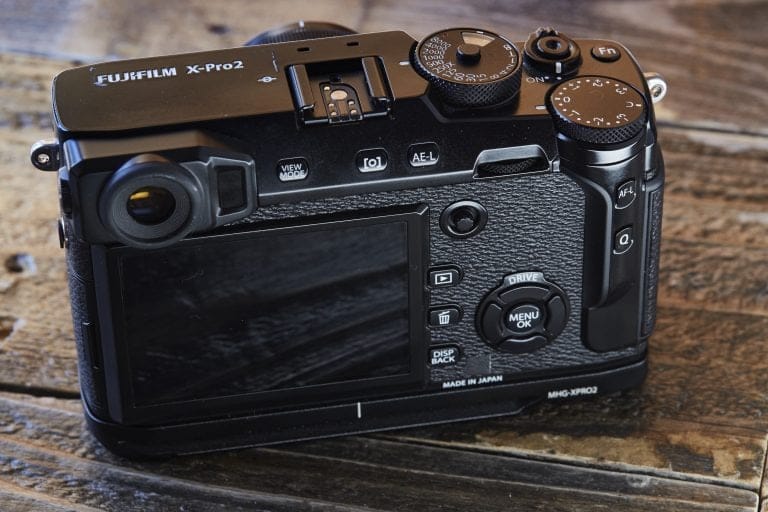
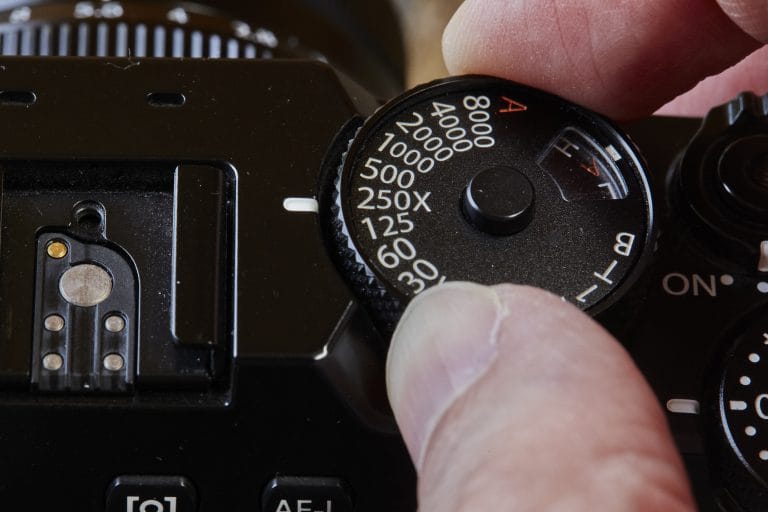
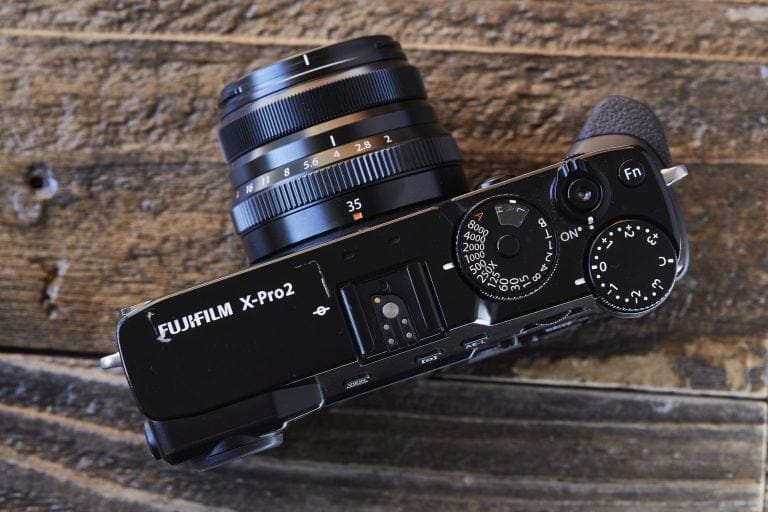
The Fujifilm X-Pro2 is a versatile and powerful camera that offers a wealth of customization options to suit various photography styles. Setting up your X-Pro2 for optimal performance ensures you get the most out of its advanced features, from stunning film simulations to precise autofocus. In this guide, we’ll walk you through the essential steps to configure your camera for the best results, whether you’re a seasoned photographer or a beginner exploring the X-Pro2’s capabilities.
Adjusting Basic Camera Settings
Before diving into advanced configurations, it’s essential to fine-tune the basic settings for general photography.
Setting the Language and Date/Time
- Why It’s Important: Ensures accurate metadata for your photos and a seamless user experience.
- How to Set: Navigate to the Setup menu > User Settings > Language and Date/Time.
Choosing the Right File Format
- JPEG or RAW?
- JPEG: Ideal for quick sharing or minimal post-processing.
- RAW: Provides maximum flexibility for editing in post-production.
- Access this setting via Shooting Settings > Image Quality.
Pro Tip: Use RAW+JPEG to have the best of both worlds.
Customizing Exposure Settings

Configuring exposure settings allows for greater control over your images in varying lighting conditions.
Auto ISO Setup
- Go to Shooting Settings > ISO Auto Setting.
- Set:
- Maximum ISO: (e.g., 3200 or 6400 for low light).
- Minimum Shutter Speed: (e.g., 1/125s for handheld shots).
Exposure Compensation
- Use the dedicated dial to adjust brightness dynamically.
- Try +/-1 stop for minor corrections in natural light scenarios.
Pro Tip: In challenging light, enable Exposure Preview in Manual Mode to visualize the results in the EVF or LCD.
Optimizing Autofocus Settings
The X-Pro2’s autofocus (AF) system is highly adaptable but requires some configuration for optimal use.
Choosing the Focus Mode
- Access via the Focus Mode Selector on the front of the camera:
- AF-S (Single): Best for stationary subjects.
- AF-C (Continuous): Ideal for moving subjects.
- MF (Manual): Provides full control for precision focusing.
Adjusting the Focus Area
- Use the joystick to select and resize the focus area.
- For fast-moving subjects, select a wider focus area in AF-C mode.
Pro Tip: Enable AF-C Custom Settings and adjust tracking sensitivity based on subject movement.
Setting Up Film Simulations and Image Quality

One of the Fujifilm X-Pro2’s standout features is its film simulations, which replicate classic film stocks.
Choosing a Film Simulation
- Go to Shooting Settings > Film Simulation and select:
- Provia: For all-purpose, natural colors.
- Velvia: For landscapes and vibrant subjects.
- Classic Chrome: For muted, documentary-style tones.
- Acros: For stunning black-and-white photography.
Fine-Tuning Color and Tonal Settings
- Adjust shadow tones, highlights, and sharpness under Shooting Settings > Image Quality.
- Experiment with these settings to suit your creative style.
Pro Tip: Save your preferred configurations as Custom Settings for quick access.
Configuring Drive and Shooting Modes
The X-Pro2 offers various shooting modes to adapt to different scenarios.
Single vs. Continuous Shooting
- Single Shot Mode: Use for deliberate, carefully composed images.
- Continuous Shooting: Capture fast action with up to 8 fps.
Bracketing Options
- Access via Drive Mode > Bracketing.
- Choose:
- Exposure Bracketing: Automatically take three shots at different exposures.
- Film Simulation Bracketing: Apply three different film simulations to the same shot.
Pro Tip: Use Interval Timer Shooting for time-lapse photography.
Customizing Buttons and Menus

Tailor the camera’s interface for a seamless shooting experience.
Setting Up Function Buttons
- Go to Setup > Button/Dial Settings > Function (Fn) Setting.
- Assign functions like ISO adjustment or white balance to the customizable buttons.
Configuring My Menu
- Create a personalized menu of frequently used settings for faster access.
- Add options like Film Simulation, Focus Area, and White Balance.
Pro Tip: Label your settings for quick identification.
Enabling Essential Features for Specific Scenarios
The X-Pro2’s advanced features enhance performance in challenging environments.
Focus Peaking for Manual Focus
- Enable Focus Peaking under AF/MF Settings > MF Assist > Focus Peaking.
- Choose a highlight color that stands out against your subject.
Silent Mode
- Activate Silent Mode to disable shutter sound and camera beeps—ideal for quiet environments like weddings or wildlife photography.
Dynamic Range Adjustment
- Set the camera to DR200% or DR400% to preserve highlights and shadows in high-contrast scenes.
Pro Tip: Test different dynamic range settings to find the best balance for your subject.
Conclusion
Setting up your Fujifilm X-Pro2 for optimal performance is the key to capturing breathtaking photos. By customizing basic settings, exposure options, autofocus, and film simulations, you can create a configuration tailored to your unique photography style. Remember, the X-Pro2 is as much about creativity as it is about technical performance, so don’t hesitate to experiment and refine your settings over time.
FAQs
What is the best way to configure Auto ISO on the X-Pro2?
Set a maximum ISO (e.g., 3200) and a minimum shutter speed (e.g., 1/125s) to balance low-light performance with image clarity.
Can I customize the X-Pro2’s Quick Menu?
Yes, you can personalize the Quick Menu to include your most-used settings for faster access.
Which film simulation is best for portraits?
Astia and Pro Neg Hi are excellent choices for portraits, offering soft tones and natural skin rendering.
How do I save custom settings on the X-Pro2?
Go to Setup > Save Data Setup > Custom Settings and configure profiles for different scenarios like landscapes or portraits.
Does the X-Pro2 have a silent shutter mode?
Yes, enable Silent Mode in the Setup menu for completely silent shooting.
What is the benefit of focus peaking in manual mode?
Focus peaking highlights the areas in sharp focus, making manual focusing easier and more precise.


